How to Create Training Data for YOLO: Annotation Workflow and Starting Small with a PoC

Getting YOLO to run on a public dataset is the easy part. The wall most teams hit is the next one: training it on their own data.
Tutorials work because someone already did the hard work of preparing a clean, consistently labeled dataset. In production, that preparation is the project. It is also where the “garbage in, garbage out” cliché stops being a cliché and starts costing you weeks.
This guide walks through the five steps of building YOLO training data, what the label format actually contains, and the three failure modes that quietly wreck accuracy. It ends with a more useful question than “how many images do I need?”
Table of contents
- The short version: five steps, and the one that decides your accuracy
- The five steps of building YOLO training data
- Step 1: Collect data that matches production
- Step 2: Define classes and write annotation guidelines
- Step 3: Annotate
- Step 4: Convert to YOLO format and split the data
- Step 5: Train, evaluate, and go back to the data
- Three places in-house annotation breaks down
- A better question than “how many images do I need?”
- In-house or outsourced: choosing per phase
- Working with a Japan-based annotation partner
- Frequently asked questions
- Summary
The short version: five steps, and the one that decides your accuracy
Building a YOLO training dataset breaks down into five steps:
- Collect the data
- Define classes and write annotation guidelines
- Annotate
- Convert to YOLO format and split into train and validation sets
- Train, evaluate, and return to the data
Step 3 consumes the time. Step 2 determines the accuracy. Most teams notice the pain of step 3 first and start looking for help there. But the datasets that underperform usually failed at step 2, months earlier, when nobody wrote down what “a valid object” actually means.
The five steps of building YOLO training data
Step 1: Collect data that matches production
Collect images under conditions as close as possible to where the model will run. Variety matters more than raw volume:
- Lighting: daylight, night, backlight, overcast
- Distance and angle: close, far, overhead, oblique
- Object state: occluded, overlapping, partially visible
- Background: different sites, seasons, levels of clutter
If a condition never appears in training, the model meets it for the first time in production. Conversely, ten thousand near-identical frames will not buy you much: a hundred genuinely different scenes usually beats a thousand near-duplicates.
If you have no imagery yet, or want the capture protocol designed before you start shooting, data collection and preprocessing can be handled as a separate stage.
Data Collection & PreprocessingNo imagery yet? We design the capture protocol, then clean, format and anonymize what comes back.annotation-support.com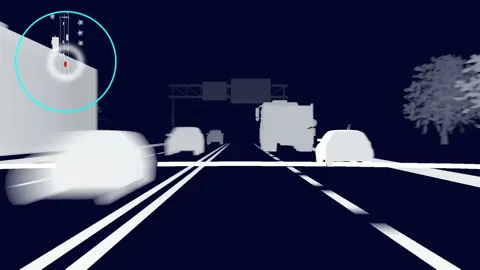
Step 2: Define classes and write annotation guidelines
Annotation guidelines are the written rules for what to label, how tightly, and what to skip. Without them, the same object in the same scene gets labeled differently depending on who is working and what day it is. That inconsistency is label noise, and the model learns it faithfully.
Decide these before anyone draws a box:
- Class definitions: how many classes, and whether visually similar objects are merged or split
- Occlusion: are partially hidden objects labeled, and above what percentage hidden do you skip them
- Truncation: are objects cut off at the frame edge labeled, and do you box only the visible part
- Minimum size: below how many pixels is an object out of scope
- Box tightness: flush to the object, or with a small margin
Ambiguous cases will come up regardless. The goal is not to find the objectively correct answer — it is to make sure the same edge case always gets the same treatment. Keep a running gallery of screenshots showing resolved edge cases and append it to the guidelines. This is what keeps inter-annotator agreement from drifting once more than one person is working.
Step 3: Annotate
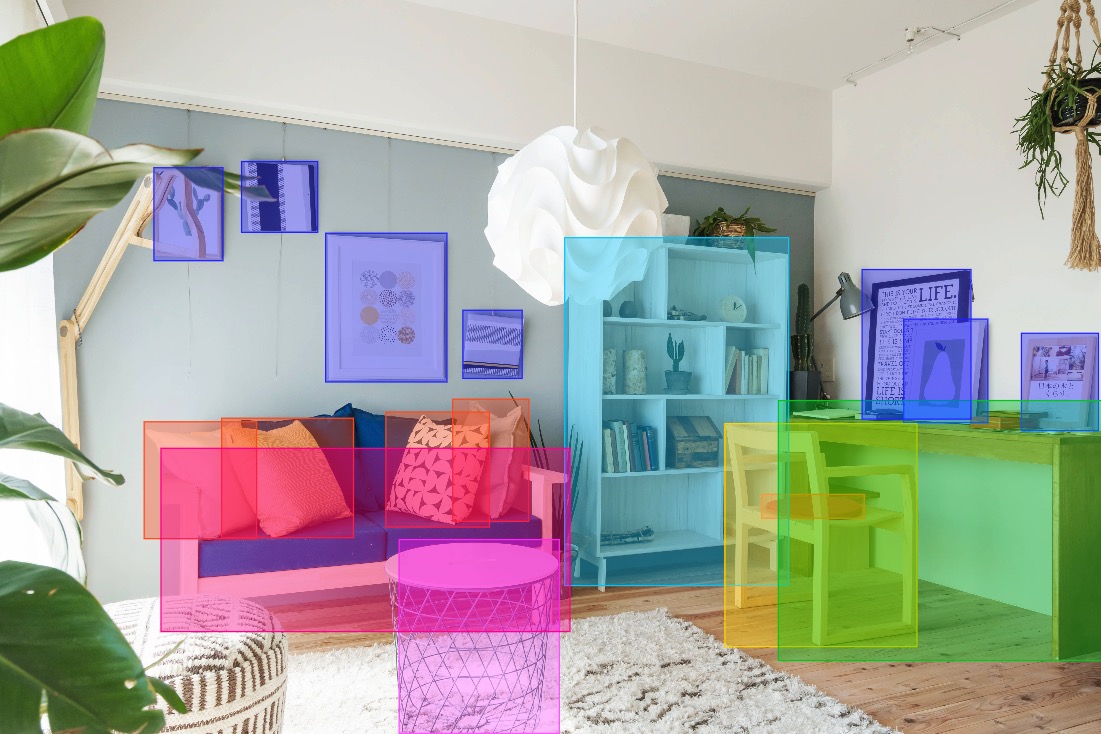
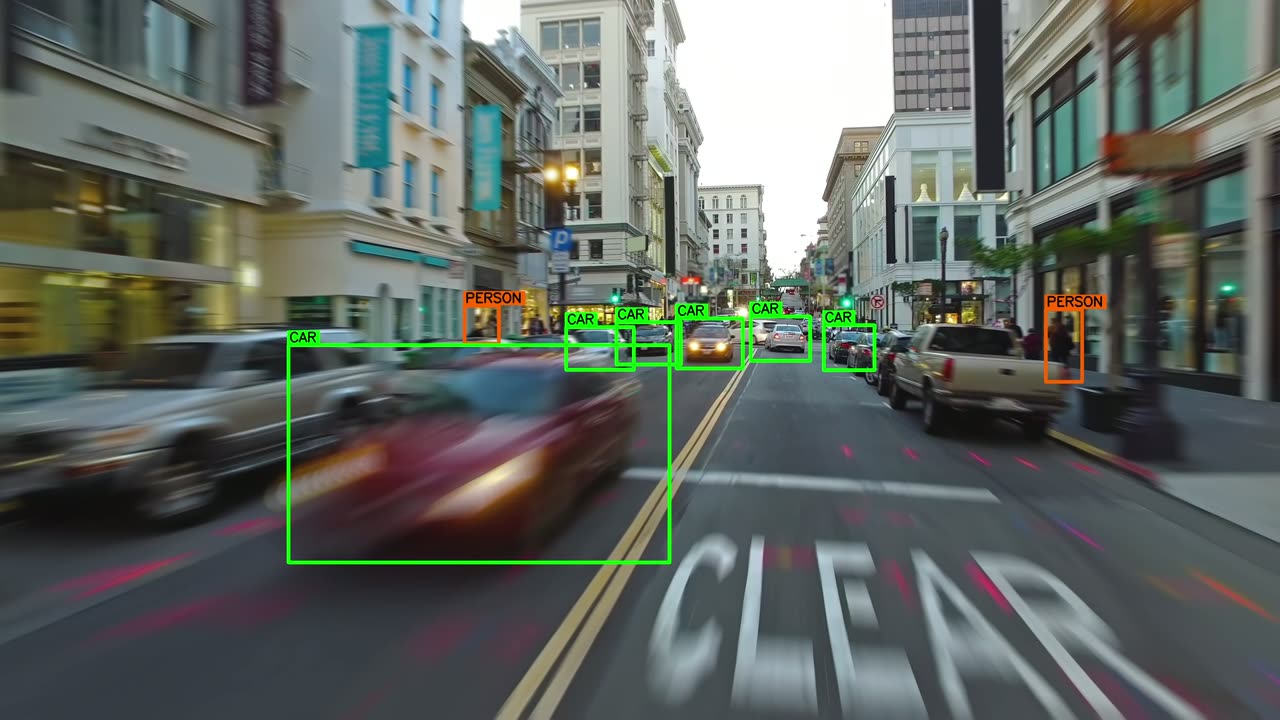
This is the part where someone draws boxes. Tooling ranges from lightweight local applications such as LabelImg to server-based platforms such as CVAT or Label Studio that handle multi-user workflows and progress tracking. Local tools suit small one-off batches; server-based tools suit anything ongoing or collaborative.
Time per image varies enormously with object count and difficulty. An image with one clearly separated object and an image with forty overlapping ones are different jobs, not the same job at different speeds. Estimate in total boxes, not in images — it is the only unit that tracks the actual work.
Step 4: Convert to YOLO format and split the data
YOLO uses one plain-text label file per image. The structure is minimal:
| Element | Specification |
|---|---|
| Filename | Same basename as the image, with a .txt extension (img_001.jpg → img_001.txt) |
| One line | One object. An image with no objects gets an empty file |
| Line format | class_id center_x center_y width height, space-separated |
| Value range | Coordinates and dimensions are normalized to 0–1 by image width and height |
| Class ID | Zero-indexed integer |
| Example | 0 0.512 0.436 0.180 0.242 |
The normalization is the classic trip-up when converting from COCO JSON or Pascal VOC XML, which store absolute pixel values — and COCO stores the top-left corner rather than the center. After any conversion, render a handful of labels back onto the images and look at them. A coordinate-system mistake discovered after a full training run is an expensive way to learn this.
Then split into train and validation sets — and watch for data leakage. If consecutive video frames or shots from the same session land on both sides of the split, your validation score measures memorization, not generalization. Split by scene, session, or site, not by shuffling individual files.
Step 5: Train, evaluate, and go back to the data
Read the metrics, then look at the actual failures. Pull up the false positives and the misses and study them. When one class underperforms, or distant objects consistently drop out, the cause is usually in the dataset rather than the architecture.
Inconsistent labeling, a missing scene, a class boundary nobody agreed on — each of these sends you back to step 2. This is the core insight behind data-centric AI: iterating on the dataset generally beats iterating on the model, and treating data creation as a loop rather than a one-time task makes the whole project easier to plan.
If your project moves from camera to LiDAR, the workflow changes substantially — object extent, occlusion, and heading all become specification questions. See our guide to 3D point cloud annotation.
Three places in-house annotation breaks down
- Guideline drift. The moment a second person joins — or the same person returns after a week away — judgments diverge. The model learns the divergence.
- QA gets deferred. Producing labels absorbs all available capacity, so review becomes a spot check of a few files. Whatever the spot check missed surfaces later, usually during evaluation.
- Engineering time evaporates. Researchers and engineers end up drawing boxes instead of designing experiments, which slows the entire iteration cycle.
None of these is solved by working harder. They are problems of written process, of a dedicated review stage, and of how people are allocated.
At ANOSUPO we review every delivered item rather than sampling, and maintain 99.7% quality consistency. For one year after delivery, we correct any defect attributable to us against the agreed specification at no charge.
Pirika hit this ceiling directly. In-house annotation topped out at roughly 1,000 items a month while their video data kept growing. After moving the work outside, throughput reached 100,000 items a month and cumulative delivery passed one million items, at about half the previous cost.
Data for environmental AI half the cost, at scaleCase study: Pirika's litter-survey AI "Takanome." ANOSUPO took on annotation of ever-growing video data, cutting cost to about half and scaling throughput to 100K items a month and 1M+ delivered — a data foundation in-house work could never reach.annotation-support.com
A better question than “how many images do I need?”
It is the most common question we get, and the honest answer is that there is no universal number. It depends on how visually distinct your classes are, how much your capture conditions vary, what accuracy you need, and how many false positives you can live with.
The practical move is to stop estimating and build a small batch, then train on it. A small run tells you quickly:
- Whether your class definitions hold up against real data
- Which scenes the model struggles with — that is, what to collect next
- Which edge cases your guidelines never anticipated
ANOSUPO has no minimum order quantity. For images, a PoC of roughly 50–100 items is a normal starting point. Before that, our free trial covers roughly 10–50 items of your real data, annotated by the same team that would handle the project, so you can assess quality before committing.
One caveat: everything above assumes still images. If your source material is video, the count question changes shape — you are choosing a frame sampling rate, and that one setting can move your total volume by an order of magnitude. See our guide to video annotation and tracking datasets for how to set it.
In-house or outsourced: choosing per phase
This is not an argument for outsourcing everything. It is a question of phase.
| Keep it in-house when | Outsource when |
|---|---|
| The spec is still moving daily during exploration | The spec has stabilized and you need volume |
| It is a small, one-off validation batch | Data will be added continuously over time |
| Labeling needs deep, hard-to-transfer domain expertise | Consistency across many annotators is the priority |
| Contractual constraints prevent data leaving your environment | You want engineering time back on the model |
On cost: ANOSUPO bills purely by volume, with no setup fee and no management fee.
| Task type | Unit price (excl. tax) |
|---|---|
| Bounding box (object detection) | from ¥6 per box |
| Keypoint (pose estimation) | from ¥3.5 per point |
| Segmentation | from ¥25 per region |
For YOLO-style bounding boxes, the first row applies. Since the estimate is simply total boxes × unit price, counting the objects in a handful of representative images is enough to size a project roughly. See our pricing page for other task types and how quotes are built.
Beyond bounding boxes, we handle segmentation, pose estimation, and video tracking — details on the image and video annotation page.
Image & Video AnnotationBounding boxes, segmentation, pose estimation and video tracking — reviewed at 100%, priced per unit.annotation-support.com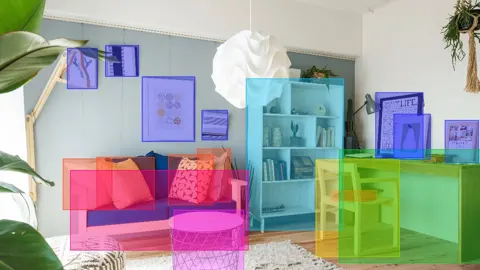
If in-house labeling has stopped scaling, our guide to data annotation outsourcing covers cost drivers and how to evaluate a vendor.
Working with a Japan-based annotation partner
ANOSUPO is operated by Borderless Japan, founded in 2021 and based in Fukuoka, Japan. Our team was selected for Forbes 30 Under 30 Asia in 2023.
Two things tend to matter to teams evaluating us from outside Japan. The first is security posture: we hold ISO/IEC 27001 (ISMS) certification, and operate on a non-retention, non-local basis — data is handled only in the cloud and never stored on local machines. Every staff member is under NDA, teams are separated per project, we never reuse client data to train our own AI, and data is physically deleted promptly on completion.
The second is language. If your project involves Japanese-language or Japan-market data — Japanese text, domestic road or retail scenes, or preference data for RLHF and DPO written by native Japanese speakers — that is work we can do natively rather than approximate. See LLM, text and audio for the language side.
Frequently asked questions
Q. Which annotation tool should I use for YOLO?
For small batches or solo work, a local tool such as LabelImg is sufficient. For ongoing or multi-person projects, a server-based platform such as CVAT or Label Studio is a better fit. Tool choice matters far less than having written annotation guidelines before you start.
Q. How many labeled images does YOLO need?
There is no universal figure. It depends on class distinctiveness, variation in capture conditions, and your accuracy target. Training on a small batch first, then identifying which scenes fail, is usually faster than trying to estimate the total upfront.
Q. What does it cost to outsource annotation?
ANOSUPO charges purely by volume: bounding boxes start from ¥6 per box (excluding tax), with no setup or management fees. Total cost is total boxes × unit price. There is no minimum order, and PoC batches of roughly 50–100 images are welcome.
Q. Why is my validation accuracy high but real-world performance poor?
The two most common causes are data leakage — near-duplicate frames split across training and validation — and validation data that does not reflect production conditions. Split by scene or session rather than by shuffling individual files, and check that your validation set actually contains the hard cases.
Q. How is our data protected?
ANOSUPO holds ISO/IEC 27001 (ISMS) certification. Data is handled only in the cloud under a non-retention, non-local policy, never stored on local machines. All staff are under NDA, teams are separated per project, client data is never reused to train our own AI, and it is physically deleted promptly after completion.
Q. What if our specification changes mid-project?
The one-year free correction covers defects attributable to us against the agreed specification; a change to the specification itself is re-quoted. That said, specs move in practice — which is exactly why we emphasize aligning on guidelines before starting and validating them on a small PoC.
Summary
Building YOLO training data means: collect, define, annotate, convert and split, then train and return to the data. Annotation absorbs the hours, but the guidelines written beforehand decide the outcome.
And since nobody can tell you the right dataset size in advance, the reliable approach is to build a small batch, train once, find the weaknesses, and grow the dataset from there.
If you are at the stage of finding out whether this works on your data, start with a slice of the real thing. Quality and working style are both easier to judge from one small batch than from any proposal document.
Try it on your own data, at no cost.